Custom column table widget Icon
Custom column table widget Icon: This video contains how to use custom column table widget icon in OPNBI.
- From this document you will learn how to add icons in column of table widgets using custom column.
- Login into OPNBI.
- Make Dashboard to add table widget, to make dashboard click on Plus icon (+) from Dashboard section, as shown I figure below:

- Insert name & click on create button, as shown in figure below:

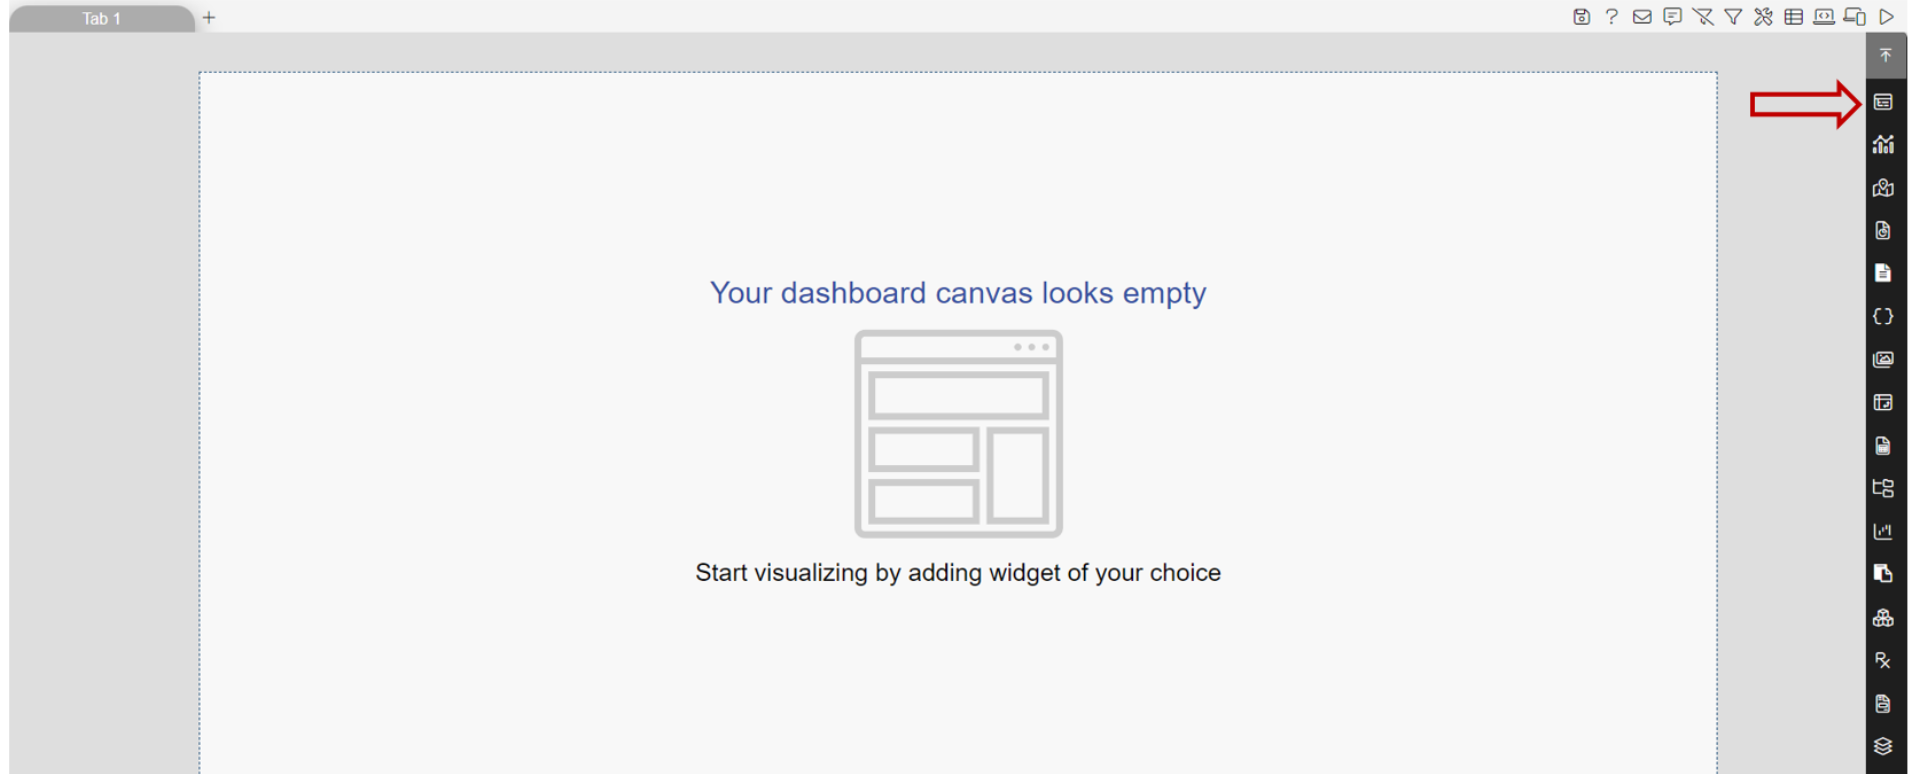
- You’ll reach to an empty dashboard, now click on Table widget icon from the right vertical menu bar, as shown in figure below:
- Add following details to Table widget: • Name: sales • Datasets(ds): Select sales.ds
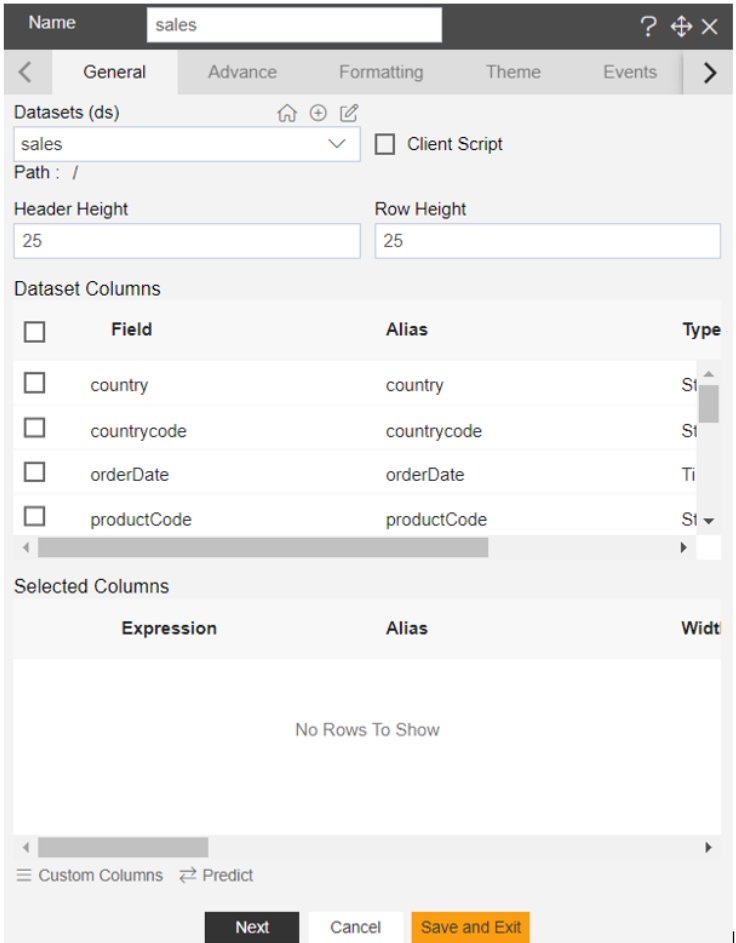
- Click on select all field icon from the Dataset columns, as shown in figure below:

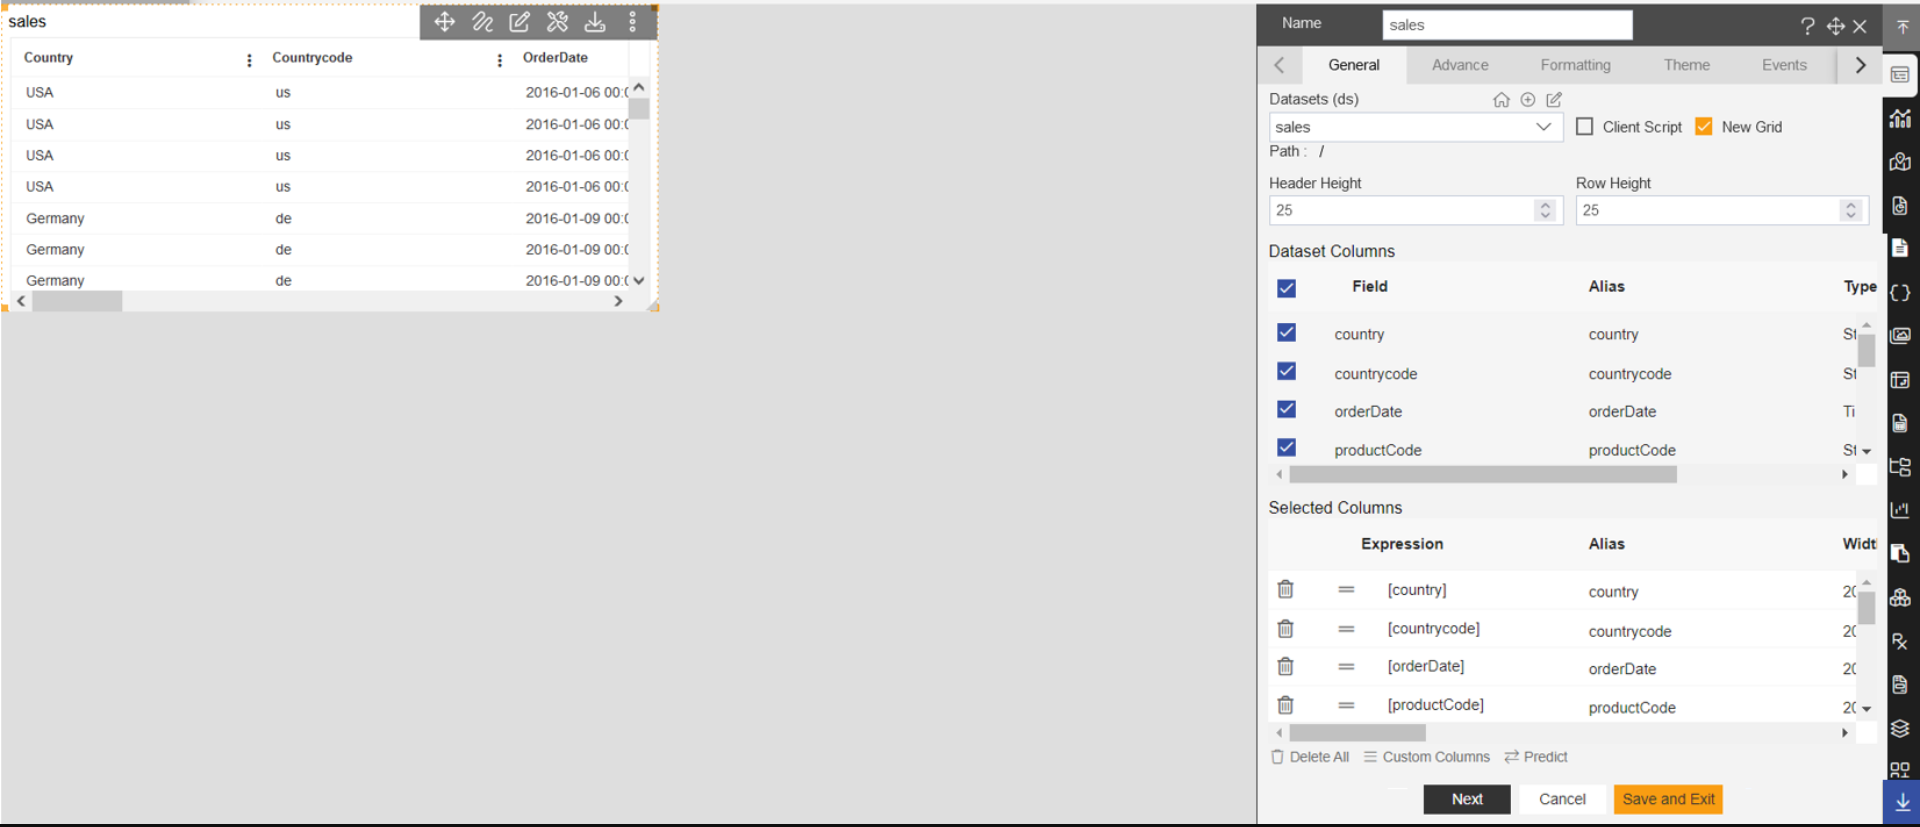
- All available columns will appear in the selected columns box, after selecting all fields, as shown in figure below:
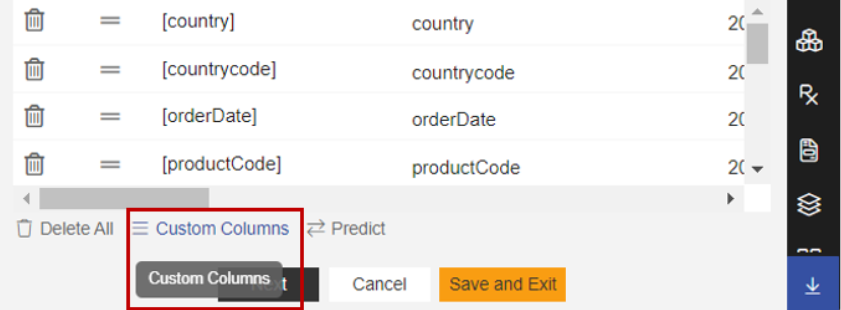
- Click on Custom columns button, as shown in figure below:
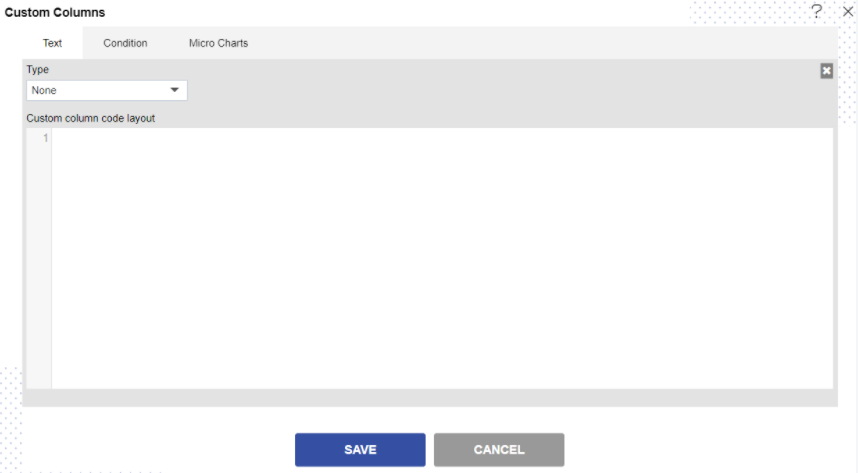
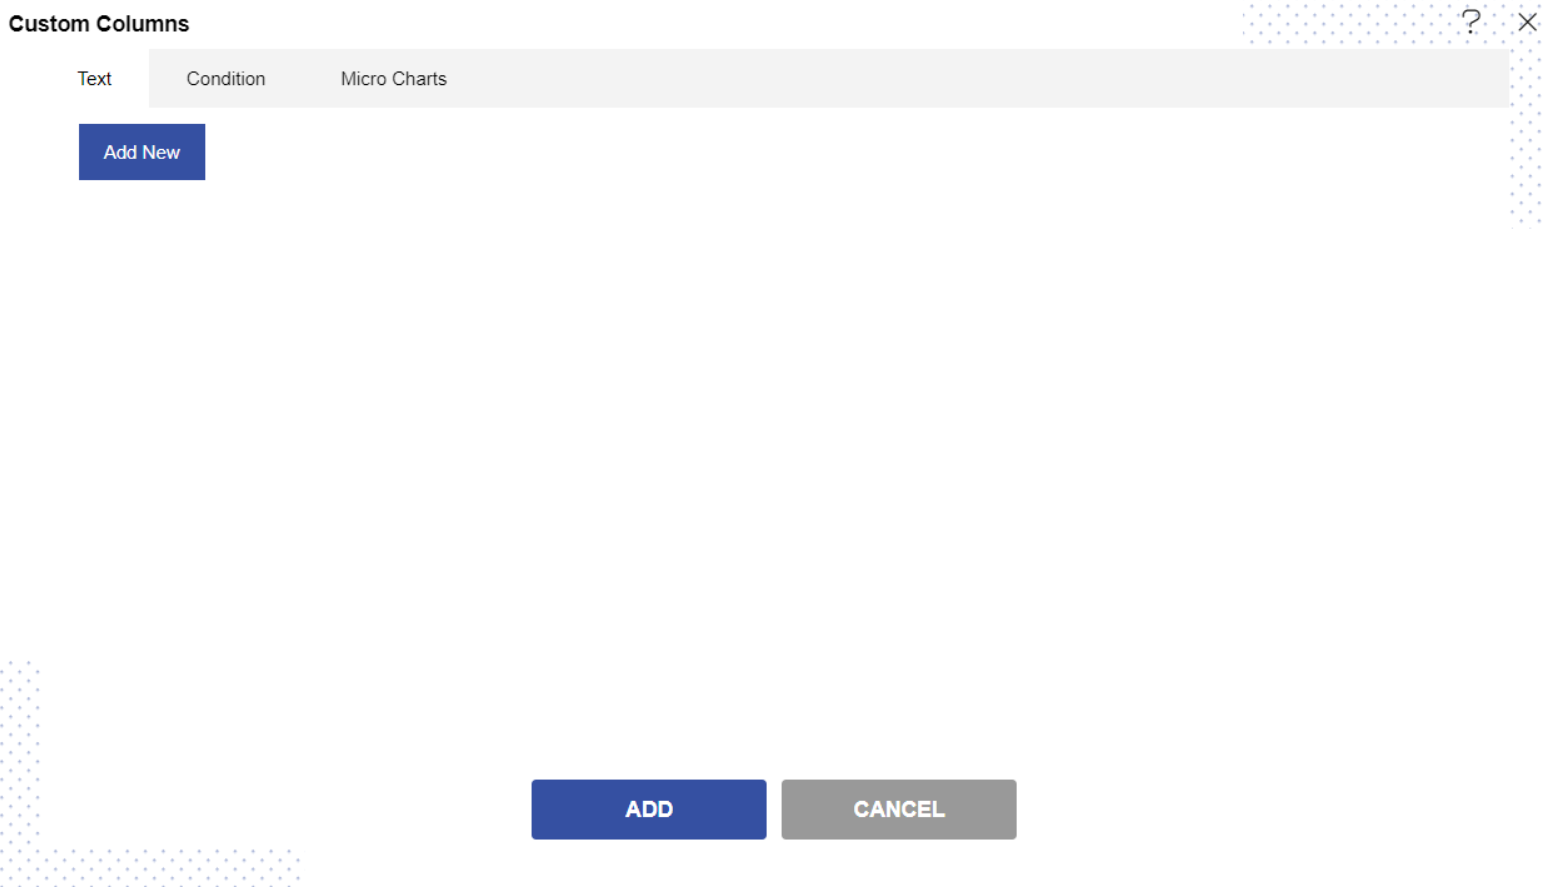
- After click on custom column, you’ll reach to Custom Columns dialog-box in OPNBI, as shown in figure below:
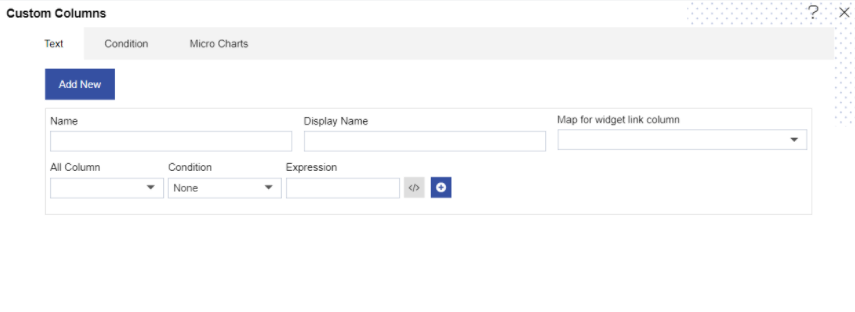
- Click on Add New button.
- As you click on Add New button, it will pop the controls in the dialogbox, as shonw in figure below:
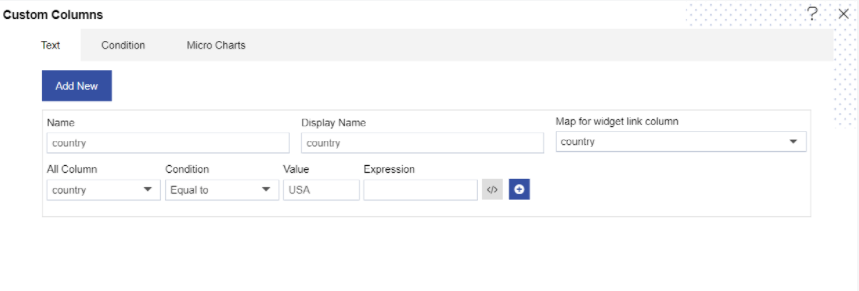
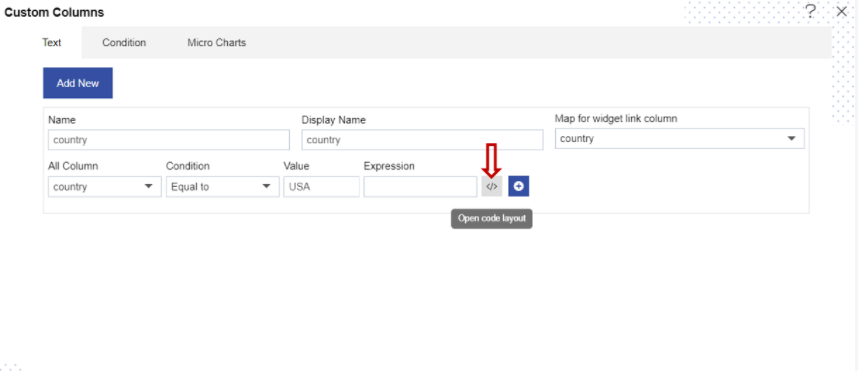
- Insert following details: • Name: country • Display Name: country • Map for widget link column: Select country • All Column: Select country • Condition: Select country • Value: Insert USA [as per value the image will be applied on USA fields only]
- click on open code layout icon to add code, as shown in figure below:
- it will show the code panel and type select dropdown as shown in figure below: